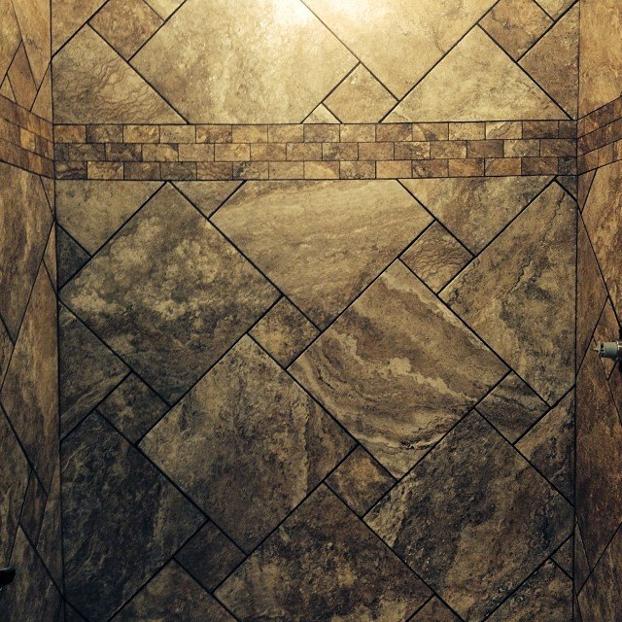
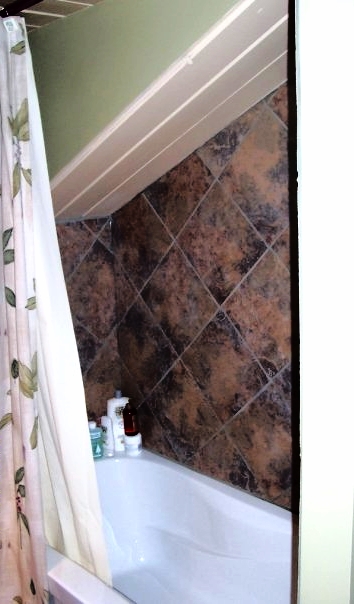
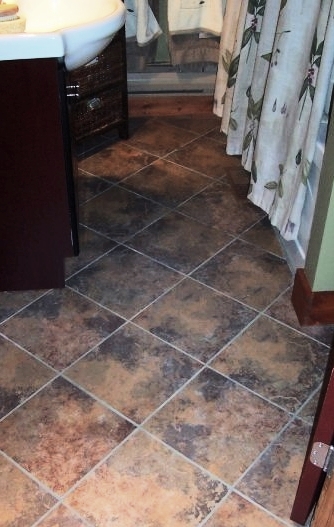
What a challenge! This stall shower was designed by Steve using pattern of 18 and 6 inch tiles. The diagonal placement (while taking 3 times as long) makes the space appear larger and the mosaic band adds visual interest. The black grout pulls out the darker highlights in the tile. The sign of a true master craftsman is in the grout lines; note how they flow perfectly from one wall to the next.
Before: This cottage bathroom had become dated and deteriorated over the years. Water damage and carpenter ants required a complete renovation.
After: The use of low cost materials can still give a higher end impression when a Good quality job is done. Smaller spaces can have a larger appearance when tile is installed on a diagonal as seen on both vertical and horizontal surfaces in this installation. In choosing more natural elements for their bathroom these cottage owners have a seamless transition from inside to out.